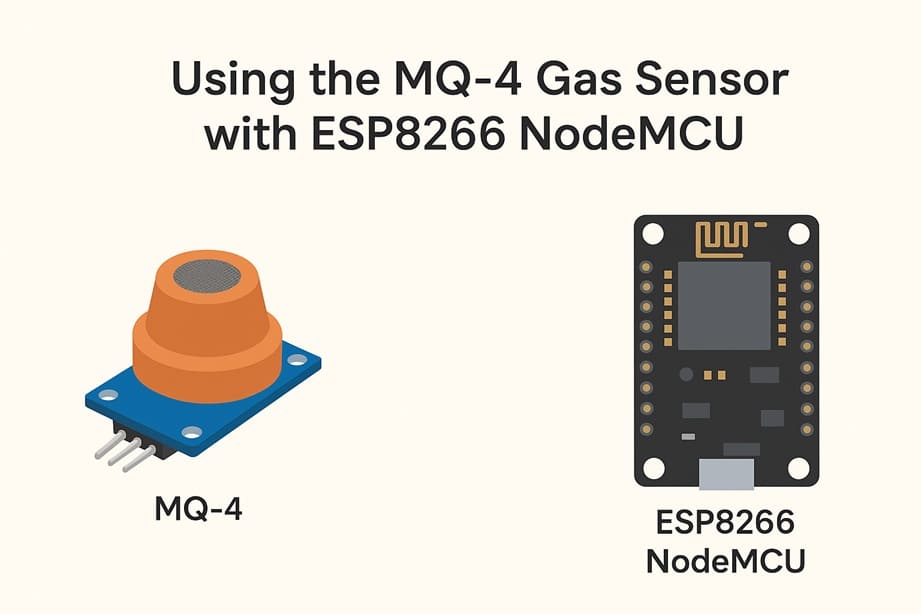
Using the MQ-4 gas sensor with ESP8266 NodeMCU
Tutorial plan
1- Objective of the tutorial
2- Working principle of the MQ-4 gas sensor
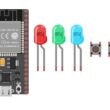
3- The necessary components
4- ESP8266 Assembly with I2C LCD Display and MQ-4 Sensor
5- Program ESP8266 NodeMCU with MicroPython
Objective of the tutorial
The objective of this tutorial is to understand and implement a gas detection system using the MQ-4 gas sensor and the ESP8266 NodeMCU.
This tutorial will guide you step by step in:
- understanding the working principle of the MQ-4 gas sensor and its sensitivity to methane (CH₄), propane, and butane gases.
- learning how to connect the MQ-4 sensor to the ESP8266 NodeMCU through the analog input pin.
- writing and uploading a MicroPython program to read the sensor’s analog values and interpret gas concentration levels.
- displaying the measured gas values on an I2C LCD screen for real-time monitoring.
- observing how the sensor’s output changes with gas concentration, showing a decrease in value when a gas source approaches.
Working principle of the MQ-4 gaz sensor
The MQ-4 gas sensor operates based on the change in electrical resistance of its sensitive material, tin dioxide (SnO₂), when exposed to gases such as methane (CH₄), propane, and butane.
1. Structure of the Sensor
The MQ-4 sensor contains:
A heating element that keeps the sensing layer at a high temperature (around 300–500°C).
A semiconducting layer made of SnO₂, which changes its resistance depending on the presence of gas molecules.
2. Operation in Clean Air
In clean air, oxygen molecules are adsorbed on the surface of the SnO₂ layer.
These oxygen molecules capture free electrons from the conduction band of SnO₂, forming oxygen ions (O⁻, O₂⁻).
As a result, the resistance of the sensor is high.
3. Operation in the Presence of Gas
When a reducing gas (like methane) is present, it reacts with the adsorbed oxygen ions.
This reaction releases the trapped electrons back into the conduction band.
The resistance of the sensor decreases, allowing more current to flow through it.
4. Output Signal
The change in resistance is converted into a voltage signal using a voltage divider circuit.
This voltage signal is sent to the ESP8266 NodeMCU, where it can be read, processed, and displayed.
5. Interpretation
Higher gas concentration → lower resistance → lower output voltage.
This variation allows the system to estimate the gas level in the environment.
The necessary components
1- ESP8266 NodeMCU board
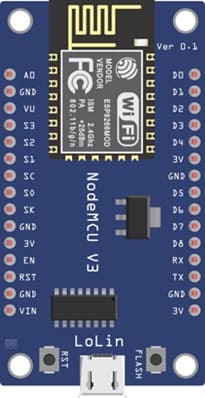
The ESP8266 NodeMCU serves as the main microcontroller that reads the sensor data and controls the display.
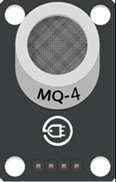
2- MQ-4 Gas Sensor module
The MQ-4 Gas Sensor module detects methane (CH₄), propane, and butane gases by measuring changes in resistance.
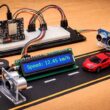
3- I2C LCD Display (20x4)
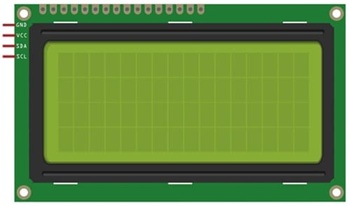
The I2C LCD screen displays the gas concentration or sensor values in real time.
4- Breadboard
The breadboard is used to assemble and connect all components without soldering.
5- Jumper wires

The Jumper wires are used for making electrical connections between the sensor, LCD, and NodeMCU.
ESP8266 Assembly with I2C LCD Display and MQ-4 Sensor
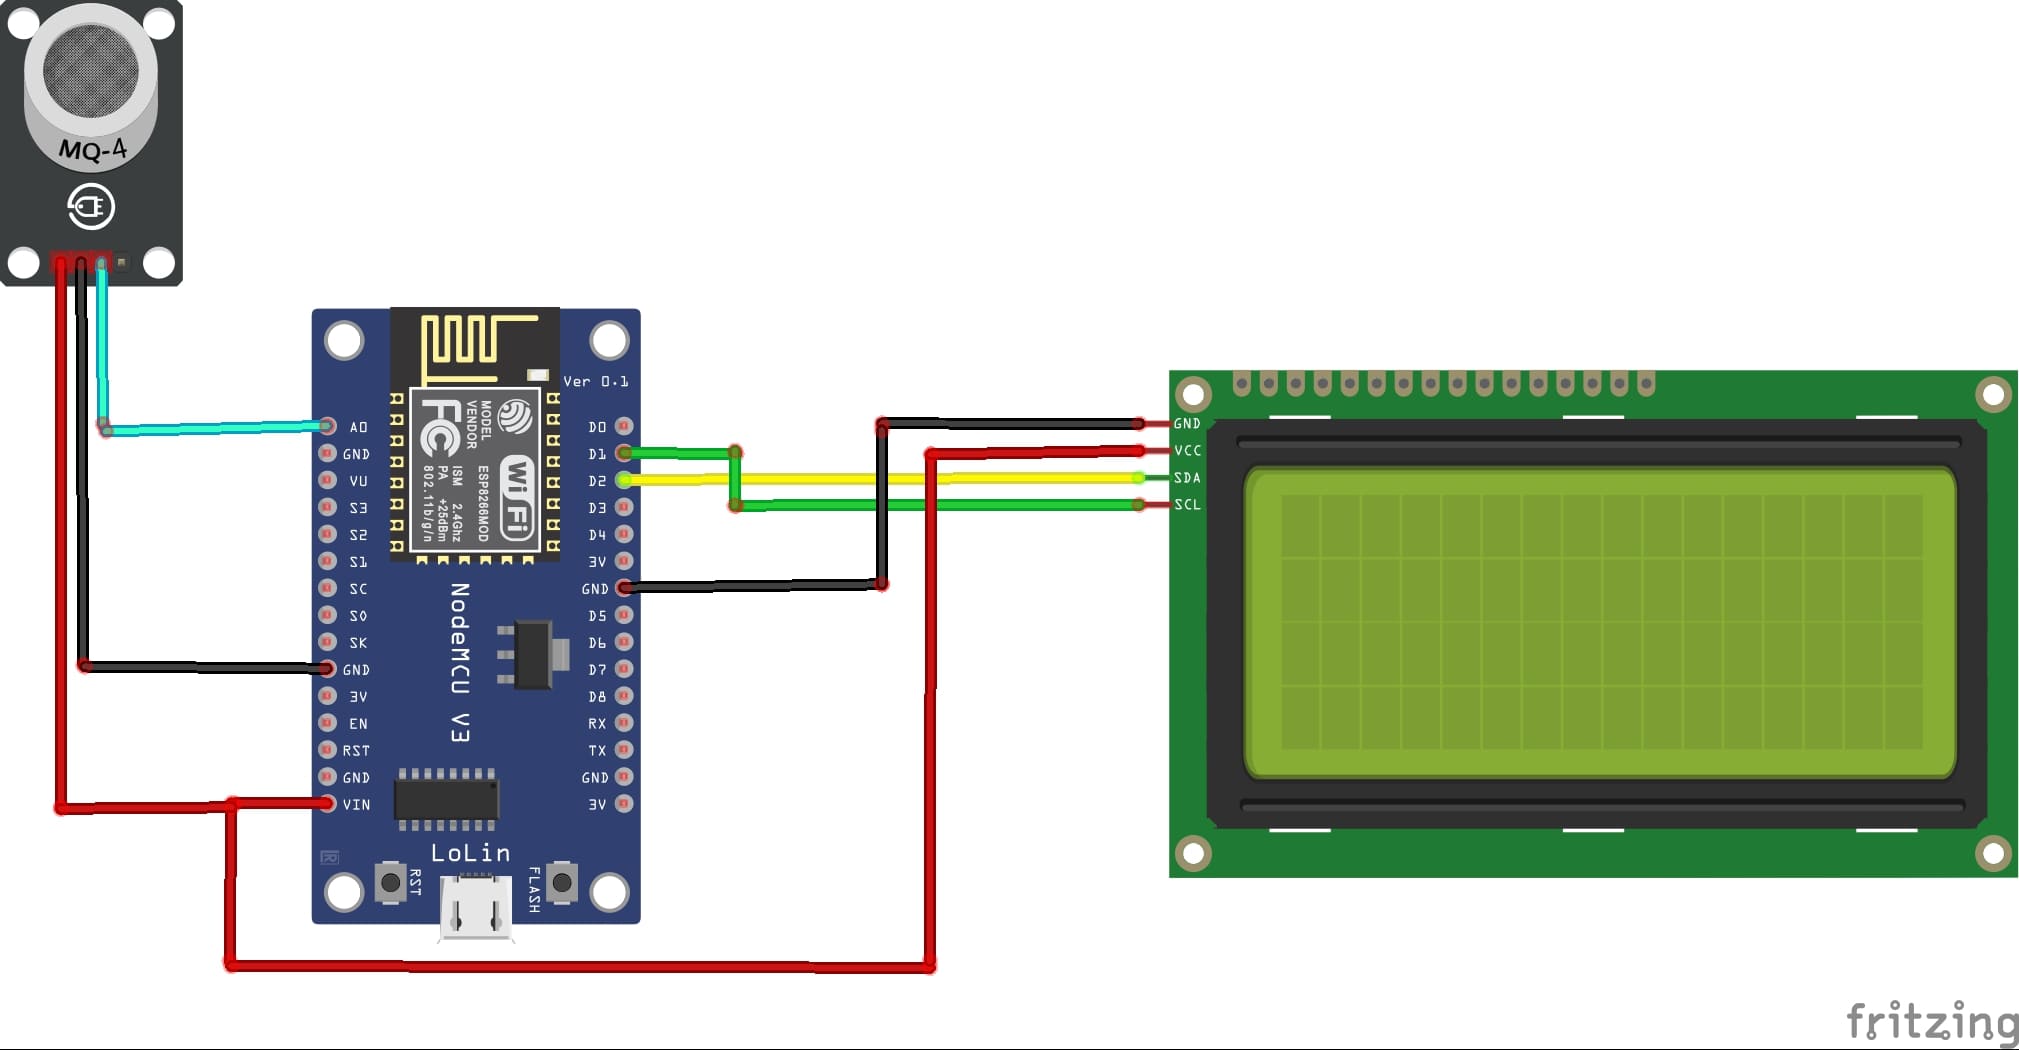
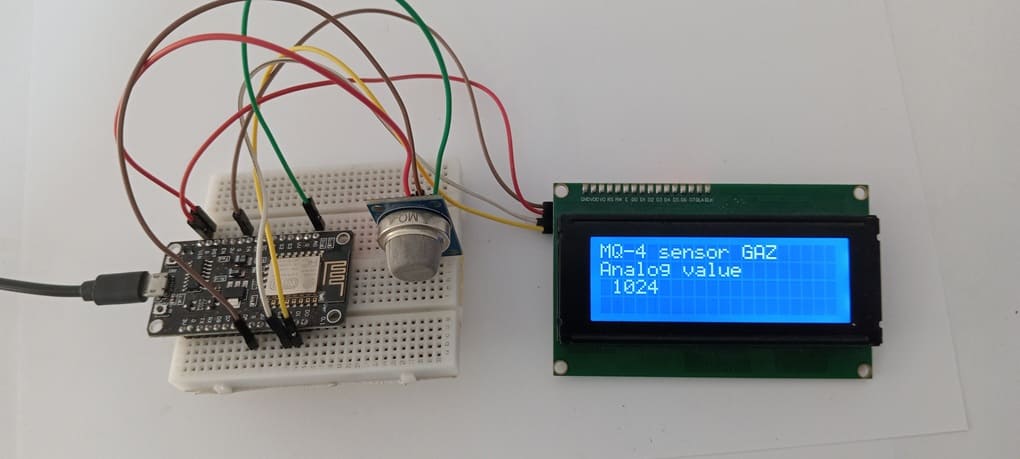
Attaching the I2C LCD Display :
- connect the VCC pin of the display to 5V pin of the ESP8266
- connect the GND pin of the display to GND pin of the ESP8266
- connect the SDA pin of the display to D2 (GPIO4) pin of the ESP8266
- connect the SCL pin of the display to D1 (GPIO5) pin of the ESP8266
Attaching the MQ-4 gaz Sensor :
- Connect DO pin of the MQ-4 sensor to A0 pin of the ESP8266 board
- Connect the VCC (+) pin of the MQ-4 sensor to the VIN(5V) pin of the ESP8266 board
- Connect the GND(-) pin of the MQ-4 sensor to the GND pin of the ESP8266 board
Program ESP8266 NodeMCU with MicroPython
To program the ESP8266 board with MicroPython to reads the DO output of the MQ-4 senor and show value on an I2C 20×4 LCD, you can follow the steps below.
1- import this two libraries : i2c_lcd and lcd_api for I2C LCD screen
2- Create a new Python script and write the following code :
|
1 2 3 4 5 6 7 8 9 10 11 12 13 14 15 16 17 18 19 20 21 22 23 24 25 26 |
from machine import Pin, SoftI2C , ADC from lcd_api import LcdApi from i2c_lcd import I2cLcd from time import sleep I2C_ADDR = 0x27 totalRows = 4 totalColumns = 20 # Configure I2C for LCD screen i2c = SoftI2C(scl=Pin(5), sda=Pin(4), freq=10000) lcd = I2cLcd(i2c, I2C_ADDR, totalRows, totalColumns) # Configure MQ-4 sensor mq4_pin = ADC(0) while True: # Read analog value sent by the MQ-4 sensor mq4_value = mq4_pin.read() lcd.move_to(0,0) lcd.putstr("MQ-4 sensor GAS") lcd.move_to(0,1) lcd.putstr("Analog value") lcd.move_to(1,2) # Display analog value sent by the KY-026 sensor lcd.putstr(str(mq_value)) sleep(1) lcd.clear() |
How the Program Works
1- The MQ-4 sensor sends an analog signal to the A0 pin of the ESP8266.
2- The program reads this analog value using ADC(0).
3- The I2C LCD displays the gas concentration value in real time.
0 comment
Leave a comment
Passion for robotics

Recent tutorials


Robotics workshop

Polpular tutorials


Making robots

Most commented tutorials


Robotic arm

Categories
Smart Home