Blinking a lamp by ESP8266 NodeMCU board
Tutorial plan
1- Objective of this tutorial
2- The components needed to control a lamp by ESP8266 NodeMCU
3- Mounting ESP8266 NodeMCU card with a lamp and relay module
4- Program ESP8266 NodeMCU with MicroPython
Objective of this tutorial
The main objective of this tutorial is to control the switching ON and OFF of an electric lamp (operating at 220V AC) using the ESP8266 NodeMCU board. This project demonstrates how to interface a low-voltage microcontroller (ESP8266) with a high-voltage load (a lamp) safely through an electromechanical relay.
Through this tutorial, you will learn how to:
1- Understand the role of the relay module
The relay acts as an electrically operated switch that allows the low-voltage (3.3V) signal from the ESP8266 to control a high-voltage AC circuit (the lamp).
2- Build a simple home automation example
By programming the ESP8266 NodeMCU board, you will be able to make the lamp blink (turn ON and OFF repeatedly) at regular time intervals.
3- Develop essential programming skills using MicroPython
You will write a MicroPython program that sends control signals from a GPIO pin of the NodeMCU to the relay module, defining how long the lamp remains ON and OFF in each cycle.
4- Enhance understanding of electronic interfacing and circuit safety
You will learn the correct way to connect a 220V load through a relay without directly exposing the microcontroller or user to high voltage.
The components needed to control a lamp by ESP8266 NodeMCU
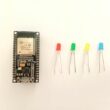
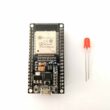
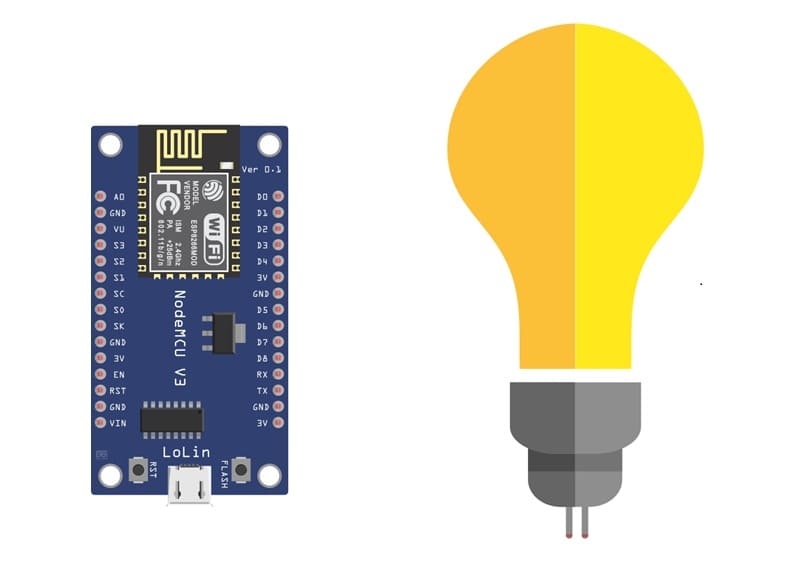
1. ESP8266 NodeMCU Board
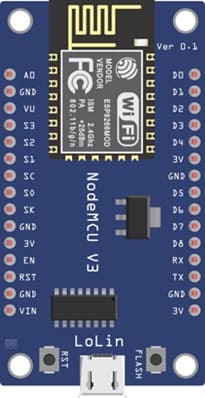
It acts as the main control unit (microcontroller).
It sends digital signals (HIGH/LOW) to the relay to control the lamp’s ON/OFF state.
2. Relay Module
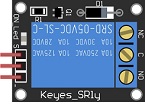
It works as an electrically controlled switch that isolates the low-voltage control circuit (NodeMCU) from the high-voltage lamp circuit (220V AC).
It switches the 220V lamp ON and OFF when triggered by the NodeMCU’s GPIO pin.
3. AC Lamp (220V)

It turns ON and OFF based on the relay signal.
4. Power Supply (220V AC)

It provides the electrical power needed to operate the lamp.
Wiring:

They safely connect a 220V AC lamp to a relay module that is controlled by the ESP8266 NodeMCU board.
Breadboard:

It is a prototyping board that allows you to build circuits without soldering. It provides a convenient way to connect the components together.
Jumper Wires:

They make connections between the ESP8266 card, relay, and breadboard. Ensure you have male-to-male jumper wires or a mix of male-to-male and male-to-female wires, depending on your specific needs.
Mounting ESP8266 NodeMCU card with a lamp and relay module
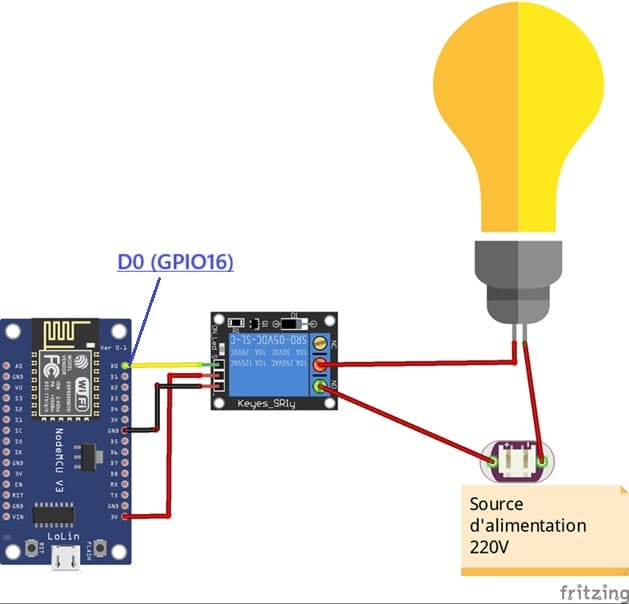
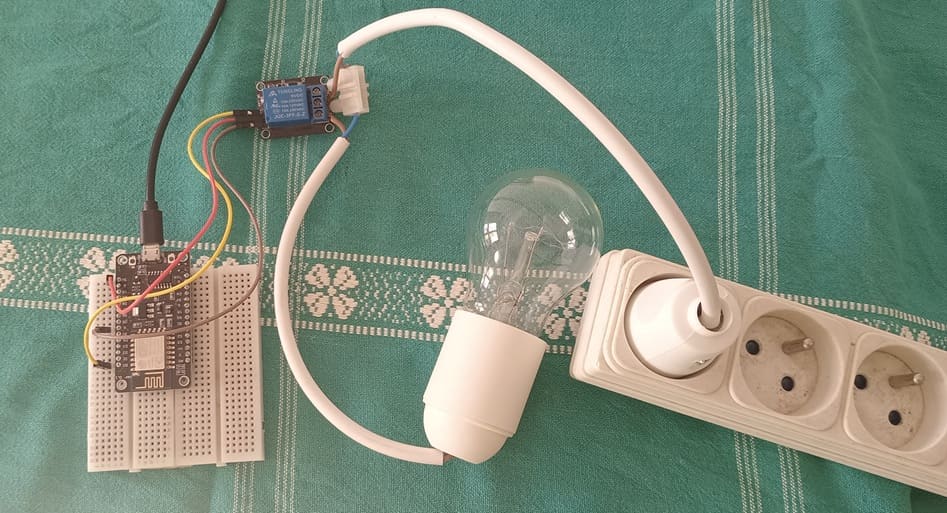
1- Mount the ESP8266 NodeMCU on a breadboard.
2- Safety First: Ensure the lamp is disconnected from any power source before proceeding.
3- Connect the Relay to the ESP32:
- Connect the relay's control pin (S) to pin D0 (GPIO16) of ESP8266 board.
- Connect the pin (+) of relay to pin 3.3V of ESP8266 board.
- Connect the relay's ground pin (GND) to the ESP8266's GND.
3- Connect the Lamp and the power supply to the Relay:
- Connect one of the power supply's wires to the relay's common (COM) terminal.
- Connect the phase wire of the the lamp to the normally open (NO) terminal of the relay.
- Connect the neutral wire of the power supply directly to the neutral wire of the lamp.
Program ESP8266 NodeMCU with MicroPython
Before programming:
1- Flash MicroPython firmware to your ESP8266 (if not already done).
2- Use a development tool such as Thonny IDE and uPyCraft IDE
3- Connect the ESP8266 NodeMCU to your computer using a USB cable.
4- Make sure the correct COM port is selected in your IDE.
MicroPython Program :
|
1 2 3 4 5 6 7 8 9 10 11 12 |
from machine import Pin import time # Configure the GPIO pin to control the relay as an output relay_pin = Pin(23, Pin.OUT) while True: relay_pin.value(1) # Turn on the lamp by activating the relay time.sleep(2) # Wait for 2 seconds relay_pin.value(0) # Turn off the lamp by deactivating the relay time.sleep(2) # Wait for 2 seconds |
Program Explanation
- from machine import Pin → Imports the Pin class to control GPIO pins.
- import time → Imports the sleep() function to add delays.
- relay_pin = Pin(16, Pin.OUT) → Configures GPIO16 (D0) as an output pin connected to the relay module.
- relay_pin.value(1) Sends a HIGH signal → Relay activates → Lamp turns ON.
- relay_pin.value(0) Sends a LOW signal → Relay deactivates → Lamp turns OFF.
- time.sleep(2) Waits 2 seconds between ON/OFF cycles.
0 comment
Leave a comment
Passion for robotics

Recent tutorials


Robotics workshop

Polpular tutorials


Making robots

Most commented tutorials


Robotic arm

Categories
Smart Home