Order 5V DC motor by ESP32 card and L298N module
Tutorial plan
1- Presentation of L298N module
2- How Order a motor by ESP32 card and L298N module ?
3- Components Needed
4- Circuit Setup
5- Programming ESP32 with Micropython
Presentation of L298N module
The L298N module is a popular dual H-Bridge motor driver used to control DC motors and stepper motors. It is commonly used with microcontrollers, like Arduino and ESP32, for projects requiring the control of two DC motors or a stepper motor, offering both direction and speed control.
1. Key Features of L298N Module
Dual H-Bridge: Controls two DC motors independently or a single stepper motor.
Voltage Range: Can handle motor voltages from 5V to 35V.
Current Handling: Provides a continuous current of 2A per channel and can handle up to 4A peak (with sufficient cooling).
Built-in Voltage Regulator: Allows the module to be powered directly from a motor power supply or an external 5V source.
2. L298N Module Pin Layout
- Motor Inputs (IN1, IN2, IN3, IN4): Controls motor direction for two channels.
- Enable Pins (ENA, ENB): Controls speed for each motor via PWM (Pulse Width Modulation).
- Power Pins:
VCC: Connects to the motor power supply (e.g., 12V for DC motors).
5V: Provides power to the internal circuitry (can be powered externally or use the module’s regulator).
- GND: Connects to the ground.
Output Pins (OUT1, OUT2, OUT3, OUT4): Connects to the motor terminals for each motor channel.
How Order a motor by ESP32 card and L298N module ?
To control a DC motor using an ESP32 and an L298N module, we use the ESP32 to send signals to the L298N motor driver, which in turn controls the motor’s speed and direction. The L298N module is a dual H-bridge motor driver that allows us to control two DC motors independently, so this setup is ideal for projects requiring both speed and direction control.
System Overview
1- ESP32 Microcontroller:
The ESP32 serves as the brain of the operation, sending signals to the L298N module to control the motor’s direction and speed.
The ESP32 outputs digital and PWM (Pulse Width Modulation) signals to the L298N, which translates these signals into appropriate voltage and current to drive the motor.
2- L298N Module:
The L298N motor driver has two H-Bridge circuits, each capable of controlling one DC motor.
It receives signals from the ESP32 and drives the motor according to the signal inputs, allowing for forward, reverse, and speed control.
The module has IN1, IN2, ENA (Enable for Motor A) for controlling one motor, and IN3, IN4, ENB for controlling the other.
3- DC Motor:
The motor is powered through the L298N, which regulates the power based on the signals received from the ESP32.
Components Needed
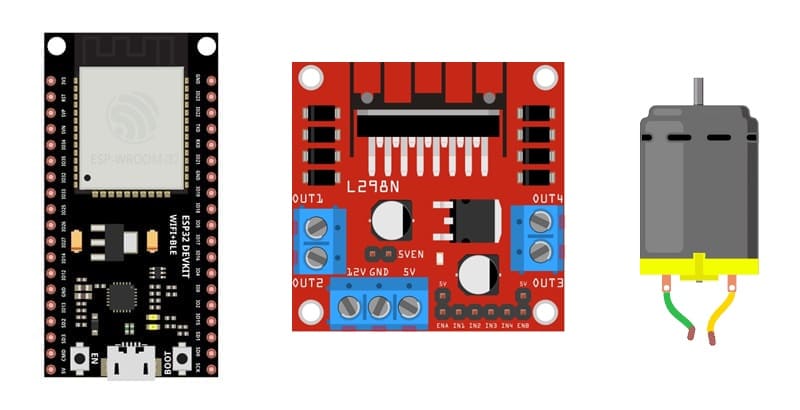
1- ESP32 board

The ESP32 board is a microcontroller board that controls the L298N module.
2- L298N module
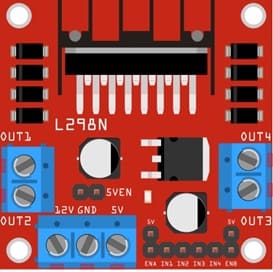
The L298N module is a popular dual H-Bridge motor driver used to control DC motors
5V DC motor

A 5V DC motor is a small electric motor that operates on 5 volts of direct current (DC) power.
4- Power supply for the water pump (matching the pump's requirements)
You’ll need a 9V power supply that provides enough current for the pump to operate effectively.
5- Jumper Wires

Jumper wires will be used to make connections between the components.
6- Breadboard:
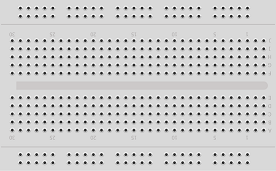
A breadboard can be used to create a temporary circuit for testing and prototyping.
Circuit Setup
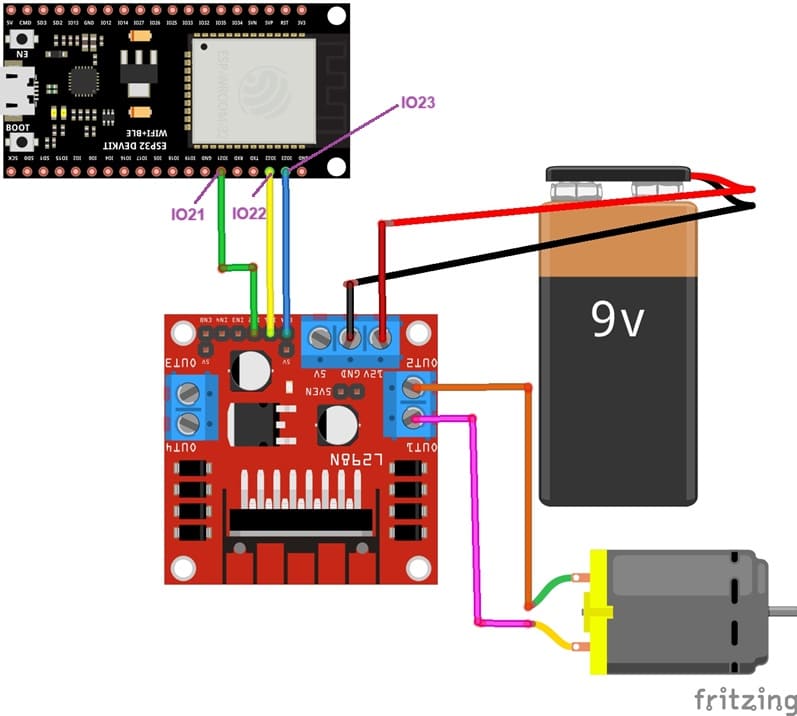
1- L298N to Motor Connections:
OUT1 and OUT2: Connect to the two terminals of Motor A.
2- Power Connections:
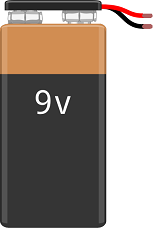
12V: Connects to the motor power supply (9v battery).
GND: Common ground connection for the motor, ESP32, and power supply.
ESP32 to L298N Connections:
ENA: Connects to a PWM-capable GPIO on the ESP32 (e.g., GPIO 23).
IN1 and IN2: Connect to GPIO pins on the ESP32 (e.g., GPIO 21 and GPIO 22).
Programming the ESP32 with Micropython
This code demonstrates basic motor control using the ESP32. It sets the motor to move forward, reverse, and stop at different speeds.
You must import the DCMotor librairy in this program
|
1 2 3 4 5 6 7 8 9 10 11 12 13 14 15 16 17 18 19 20 21 22 |
from machine import UART from dcmotor import DCMotor from machine import Pin, PWM from time import sleep import time frequency = 15000 pin1 = Pin(5, Pin.OUT) pin2 = Pin(4, Pin.OUT) enable = PWM(Pin(18), frequency) dc_motor = DCMotor(pin1, pin2, enable) dc_motor = DCMotor(pin1, pin2, enable, 350, 1023) while True: dc_motor.forward(100) # motor is running time.sleep(1) dc_motor.stop() # stops motor time.sleep(1) dc_motor.backwards(100) # the motor turns in the opposite direction time.sleep(1) dc_motor.stop() # stops motor time.sleep(1) |
Code Explanation
1- Direction Control:
dc_motor.forward() drives the motor forward.
dc_motor.backwards() drives the motor in reverse.
dc_motor.stop() stops the motor.
2- Speed Control:
Vary the PWM value (0 to 255) to set the speed, with 0 being stopped and 255 being maximum speed.
