Temperature and Humidity Monitoring Using DHT22 and ESP8266 NodeMCU
Tutorial plan
1- Objective of the tutorial
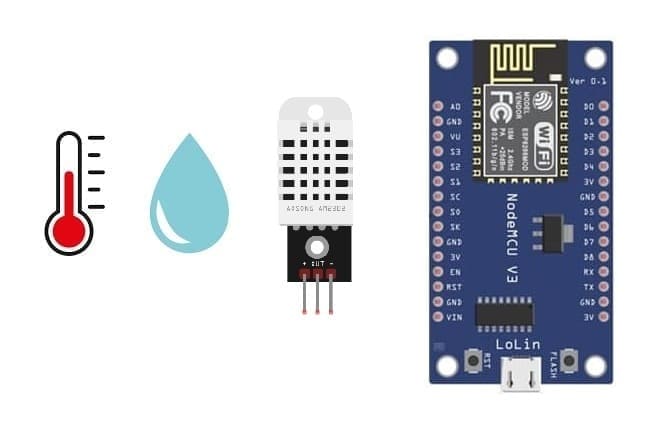
2- The necessary components
3- ESP8266 Assembly with I2C LCD Display and DHT22 sensor
4- Program ESP8266 NodeMCU with MicroPython
Objective of the tutorial
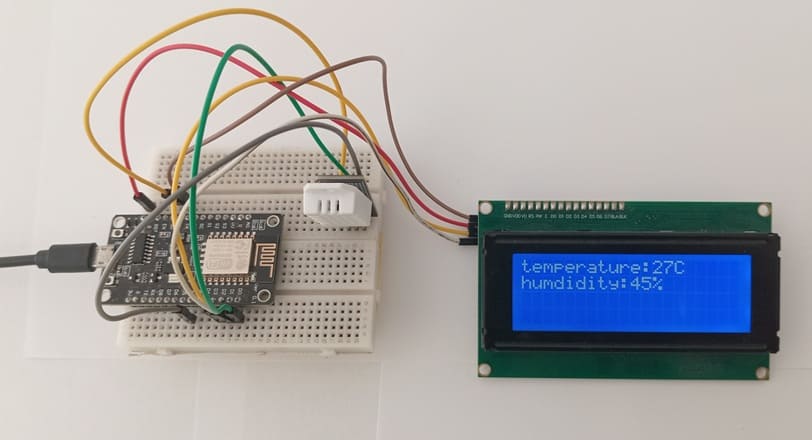
The objective of this tutorial is to measure and display the ambient temperature and humidity using the DHT22 sensor connected to an ESP8266 NodeMCU board.
The measured values will be shown in real time on an LCD I2C screen, allowing users to easily monitor environmental conditions.
Through this project, learners will understand how to:
- interface the DHT22 sensor with the ESP8266 NodeMCU.
- read temperature and humidity data using MicroPython.
- display the sensor readings on an LCD I2C display.
The necessary components
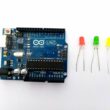
1- ESP8266 NodeMCU Board
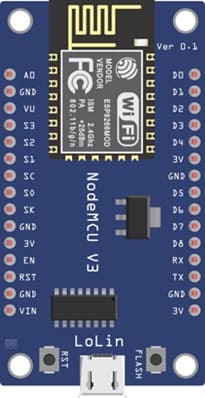
The ESP8266 NodeMCU Board Serves as the main microcontroller that reads data from the DHT22 sensor and displays it on the LCD.
It provides built-in Wi-Fi for potential IoT extensions (e.g., cloud data logging).
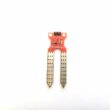
2- DHT22 Temperature and Humidity Sensor
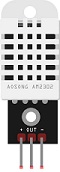
The DHT22 sensor Measures the ambient temperature and relative humidity.
It Offers higher accuracy and wider measurement range compared to the DHT11 sensor.
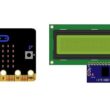
3- LCD 20x4 Display with I2C Module
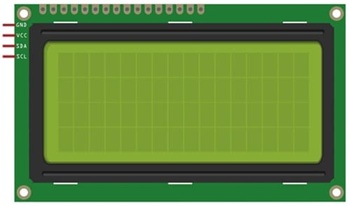
The LCD 20x4 Display with I2C Module displays the measured temperature and humidity values in real time.
The I2C interface reduces wiring complexity by using only two data lines (SDA and SCL).
4- Breadboard
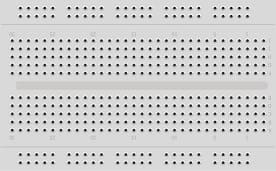
The Breadboard is used to easily connect components without soldering.
5- Jumper Wires

The Jumper Wires are used for making connections between the ESP8266, DHT22, and the LCD I2C module.
ESP8266 Assembly with I2C LCD Display and DHT22 sensor
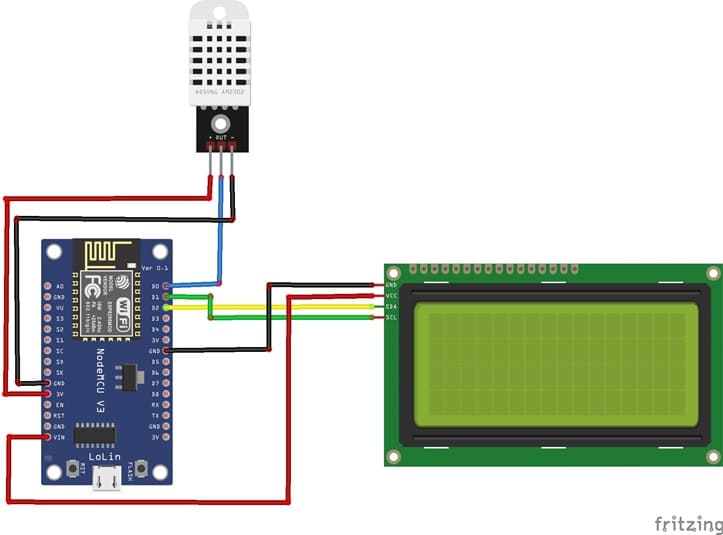
Attaching the I2C LCD Display :
- connect the VCC pin of the display to VIN pin of the ESP8266
- connect the GND pin of the display to GND pin of the ESP8266
- connect the SDA pin of the display to D1 (GPIO5) pin of the ESP8266
- connect the SCL pin of the display to D2 (GPIO4) pin of the ESP8266
Mounting the DHT22 Sensor:
- connect the VCC(+) pin of the DHT22 Sensor to 3V pin of the ESP8266
- connect the GND(-) pin of the DHT22 to GND pin of the ESP8266
- connect the OUT pin of the DHT22 to D0 (GPIO16) of the ESP8266
Program ESP8266 NodeMCU with MicroPython
Here is a complete MicroPython program to read temperature and humidity using the DHT11 sensor connected to the ESP8266 NodeMCU board:
Ensure you have the necessary libraries installed: dht, 'i2c_lcd' and 'lcd_api'.
|
1 2 3 4 5 6 7 8 9 10 11 12 13 14 15 16 17 18 19 20 21 22 23 24 25 26 27 28 29 |
import machine from machine import Pin, SoftI2C from time import sleep from lcd_api import LcdApi from i2c_lcd import I2cLcd import dht I2C_ADDR = 0x27 totalRows = 4 totalColumns = 20 # === Initialisation LCD I2C === i2c = SoftI2C(scl=Pin(5), sda=Pin(4), freq=10000) #initializing the I2C method for ESP8266 lcd = I2cLcd(i2c, I2C_ADDR, totalRows, totalColumns) #lcd2 = I2cLcd(i2c, I2C_ADDR, totalRows, totalColumns) p16=Pin(16, Pin.IN) # DHT22 Sensor Configuration d=dht.DHT22(p16) lcd.clear() while True: d.measure() t=d.temperature() #read temperature h=d.humidity() #read humidity lcd.clear() lcd.move_to(0,0) lcd.putstr("temperature:"+str(int(t))+"C") lcd.move_to(0,1) lcd.putstr("humdidity:"+str(int(h))+"%") sleep(4) |
How the program works ?
1- Imports modules:
machine for GPIO and I2C control
time for delay handling
dht for the DHT11 sensor library
lcd_api and i2c_lcd for controlling the LCD screen
2- Initializes the I2C LCD:
Defines SDA and SCL pins, sets the LCD address, and prepares the display.
3- Sets up the DHT22 sensor:
The sensor is connected to D0 (GPIO16) (you can change this if needed).
4- Main loop:
Reads temperature and humidity values from the DHT22.
Displays the results both on the serial monitor and LCD I2C screen.
Updates the readings every 4 seconds.
0 comment
Leave a comment
Passion for robotics

Recent tutorials


Robotics workshop

Polpular tutorials


Making robots

Most commented tutorials


Robotic arm

Categories
Smart Home