Using 5V DC motor by Micro:bit board
Tutorial plan
1- What's 5V DC motor ?
2- Mounting Micro:bit with relay and 5V DC motor
3- Program Micro:bit with Makecode to command 5V DC motor
What's 5V DC motor ?
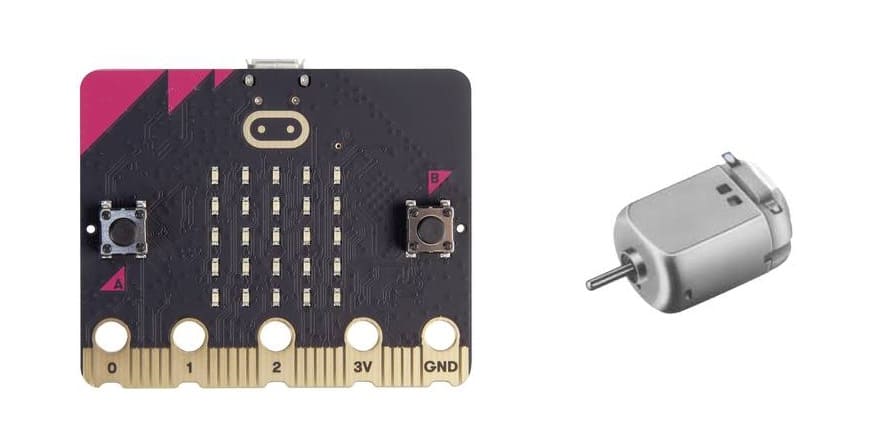
A 5V DC motor is a small electric motor that operates on 5 volts of direct current (DC) power. These types of motors are commonly used in low-power electronics and small robotics projects. Here's a quick overview of how it works and its typical applications:
Key Features
1- Voltage Requirement: The motor requires 5 volts for optimal performance. It can often tolerate slight voltage fluctuations, but 5V is ideal.
2- DC Power: It uses DC, meaning the current flows in a single direction, making it easier to control.
3- Speed and Torque: At 5V, these motors provide moderate speed and torque, which are suitable for small devices.
4- Compact Size: Many 5V DC motors are physically small, allowing them to be embedded in compact projects.
5- Efficiency and Power: The motor consumes low power, which is essential for battery-operated devices.
Applications
5V DC motors are commonly found in:
Electronics projects like Micro:bit, where they're used for tasks such as moving small objects or controlling basic robotic functions.
Toys: Small motorized toys and gadgets.
Household devices: Some small household gadgets and appliances, like electric toothbrushes or small fans.
Portable electronics: Devices that run on USB power, which provides 5V, such as mini USB fans.
Mounting Micro:bit with relay and 5V DC motor
Mounting a Micro:bit with a relay and a 5V DC motor involves organizing the components on a stable platform so they are securely connected and easy to work with. Here’s a guide to effectively mount and wire these components.
1- Hardware Setup:
Micro:bit:
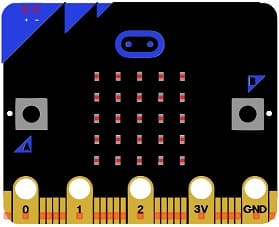
This is the central control unit
The GPIO expansion card for the Micro:bit card
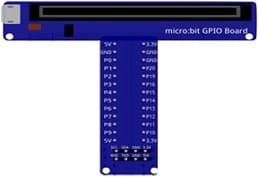
The GPIO expansion board for the Micro:bit board expands the capabilities of the Micro:bit board by adding more input/output (GPIO) pins and additional functionality.
5V DC motor

A 5V DC motor is a small electric motor that operates on 5 volts of direct current (DC) power.
Relay module:

A relay module is an electronic device that allows a low-power signal, like one from a microcontroller (such as a Micro:bit), to control a higher-power electrical load, such as a motor.
Jumper Wires:

For making temporary connections and wiring between components.
Breadboard:
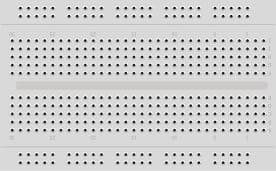
A breadboard is a useful tool for creating temporary electronic circuits. It allows you to connect components without soldering.
1- Wiring Diagram
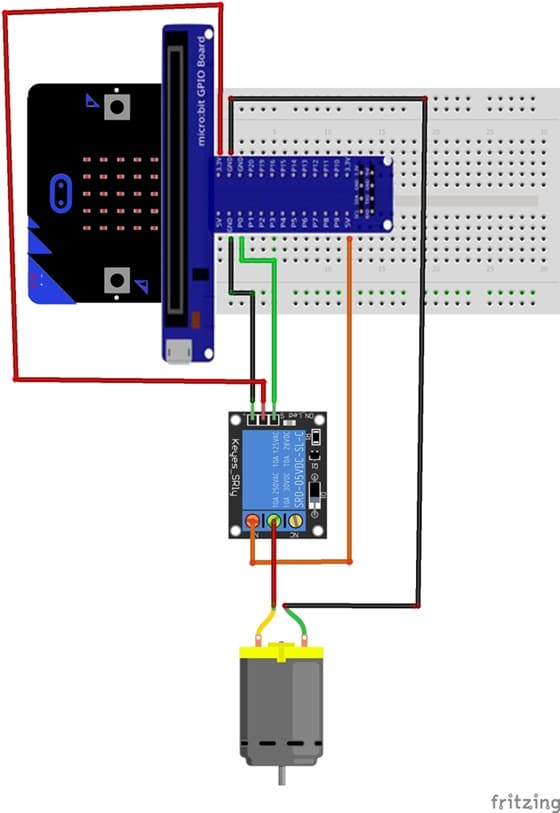
For the relay:
- pin S to pin P0 of the Micro:bit board
- the pin (+) to pin 3.3V of the Micro:bit board
- the pin (-) to the GND of the Micro:bit board
- the pin ON to an energy of 5V-9V
For the motor:
- the first terminal to the COM pin of the relay
- the second terminal to the GND terminal of the Micro:bit board
Program Micro:bit with Makecodeto command 5V DC motor
To control a 5V DC motor with Micro:bit card using Microsoft MakeCode , you’ll program the Micro:bit card to send a signal to a relay module, which will then control the motor. Here’s a step-by-step guide to writing a MakeCode program to control the motor.
We’ll program the Micro:bit to:
Turn the motor ON when a button (e.g., Button A) is pressed.
Turn the motor OFF when another button (e.g., Button B) is pressed.
1- Go to Microsoft MakeCode and start a new project.
2- In MakeCode, open the Blocks Editor (https://makecode.microbit.org/) .
3- To turn the motor ON, drag an on button A pressed block from the Input category.
4- Inside the on button A pressed block, place another digital write pin P0 to 1 block. Setting the pin to 1 (HIGH) will activate the relay, turning on the motor.
5- To turn the motor OFF, drag an on button B pressed block from the Input category.
6- Inside the on button B pressed block, place a digital write pin P0 to 0 block. Setting the pin to 0 (LOW) will deactivate the relay, turning off the motor.
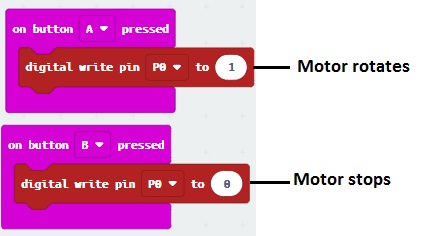
7- Click Download in MakeCode to transfer the program to your Micro
8- Once uploaded, test the setup by pressing Button A to start the motor and Button B to stop it.


