Create a classic Snake Game in Scratch for Beginners
Tutorial plan
1- What is the Snake game ?
2- Set Up the Snake game in Scratch
What is the Snake game ?
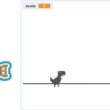
The Snake Game is a classic arcade game where the player controls a snake that moves around the screen, eating food (like apples or dots) and growing longer each time it eats.
Basic Rules of the Snake Game:
The snake moves automatically in a chosen direction.
You use arrow keys (↑ ↓ ← →) to change its direction.
When the snake eats the food, it:
Grows longer (adds a body segment).
The score increases.
The food reappears in a random location.
If the snake: hits the wall, or touches its own body, the game ends (Game Over).
Why is it popular ?
Simple rules, but challenging as the snake grows longer.
Teaches basic reflexes, planning, and coordination.
Great for learning game development in platforms like Scratch!
Set Up the Snake game in Scratch
Step 1: Prepare the game background
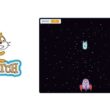
The game background in Scratch for the Snake Game is the visual area where the snake moves and the gameplay takes place. It helps define the playable space and enhances the player's experience by giving structure and visual clarity.
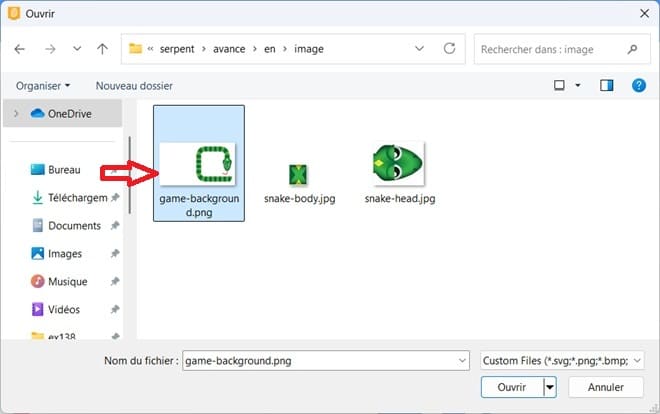
1) Go to import a background to add the space image.
2) Choose the image for the game background :
Step 2: Creation of the Play button
The Play Button is a sprite that lets the player start the game by clicking on it. It acts as the main menu control before the gameplay begins.
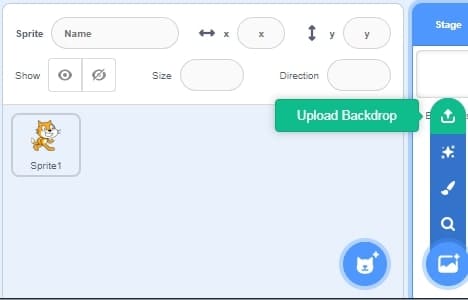
1) Go to the new sprites section and select the paint icon.
![]()
This opens the Costume Editor.
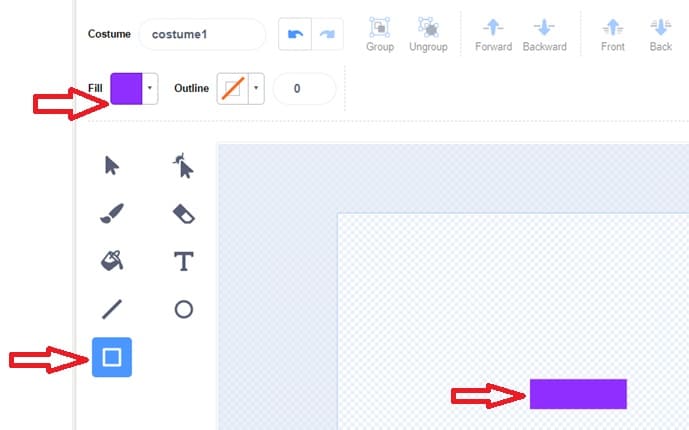
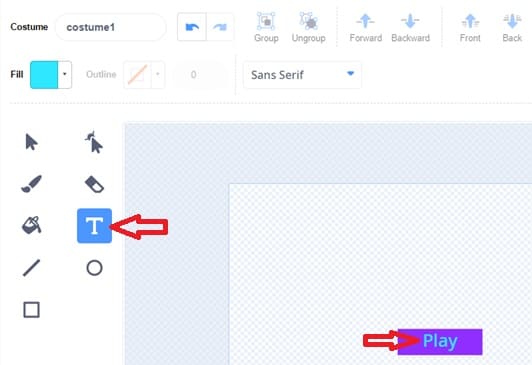
2) Select the Rectangle Tool or Circle Tool.
Choose a bright color (blue).
Draw a rectangular button in the center of the canvas.
3) Click the Text Tool (T).
Click on your button and type "Play"
4) Script for the Play Button
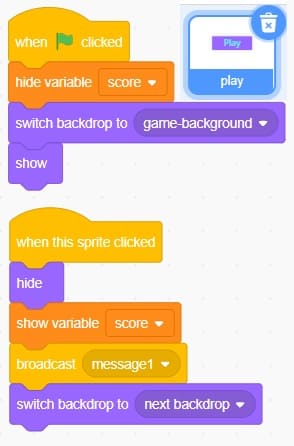
5) Explanation of Each Block
Block | Role |
 | Shows the play button at the beginning of the game. |
 | Hide variable score from the screen |
 | Change the scene to a specific backdrop |
 | Makes sure the button is visible when the game starts. |
Detects when the player clicks the Play button. | |
 | Hides the button after it has been clicked, so it doesn’t stay on screen. |
 | Used to display a variable’s value on the stage during the game. |
 | Sends a message to all sprites and the stage |
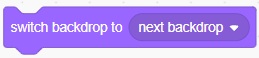 | Changes from the menu screen to the main game screen (where the snake moves and the food appears). |
Step 3: Creation of the snake-head sprite
The snake-head sprite ) is the main character of the Snake Game. It represents the head of the snake and is the part that moves, eats the food, and controls the direction of the entire snake.
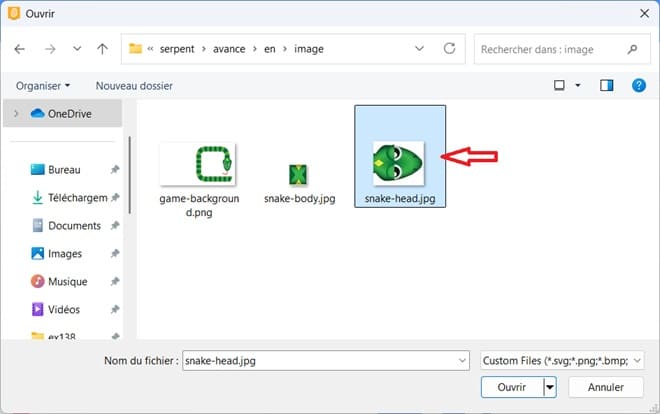
1) Go to import a sprite to add the snake-head image.
![]()
2) Choose the snake-head image:
3) Script for the snake-head sprite
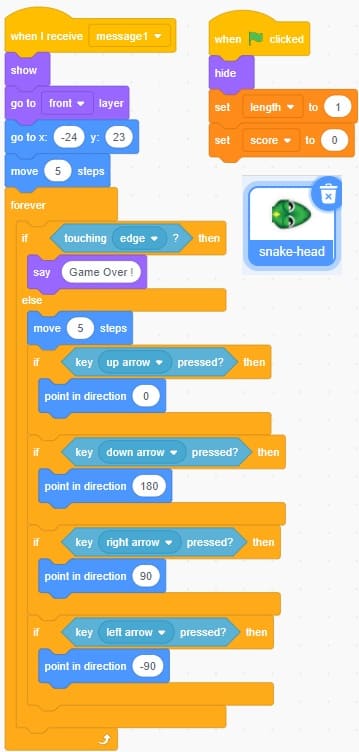
4) Explanation of Each Block
Block | Role |
| Used to start script automatically when the user clicks the green flag |
| Hides the sprite until the game officially starts. |
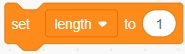 | Used to control how many body parts (clones) the snake has. So we set length to 1 |
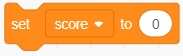 | Used to initialize score’s value to zero when a new game starts, |
 | Runs a script when the snake head sprite receives a broadcast message |
| Makes the snake head appear on the screen |
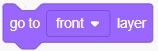 | Places the snake head sprite in front of all other sprites on the stage, making sure it is fully visible. |
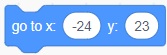 | Places the snake head at its starting position when the game begins |
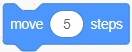 | Makes the Snake Head move forward continuously during gameplay. |
 | Used to continuously move the snake and check for interactions |
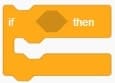
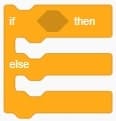 | Runs one set of blocks if the condition is true, and a different set if the condition is false. |
 | Used to detect when the snake hits the wall, which usually means Game Over. |
 | Used to inform the player that the game has ended when the snake hits the wall |
Detects when the player presses the up arrow | |
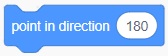
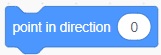 | Used to turn the snake upwards |
Detects when the player presses the down arrow | |
 | Used to turn the snake down |
Detects when the player presses right arrow | |
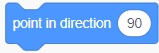 | Used to turn the snake to the right |
Detects when the player presses left arrow | |
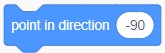 | Used to turn the snake to the left |
Step 4: Creation of the snake-body sprite
The Snake-Body sprite represents the segments that follow the Snake Head in the classic Snake game. As the snake eats a mouse, its body grows by adding new segments (clones of the Snake-Body sprite).
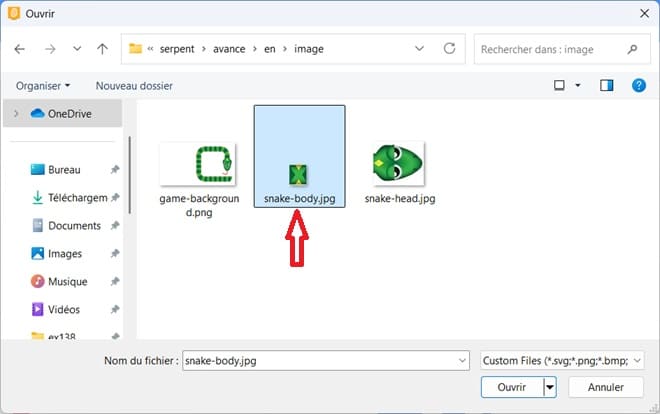
1) Go to import a sprite to add the snake-body image.
![]()
2) Choose the snake-body image:
3) Script for the snake-body sprite
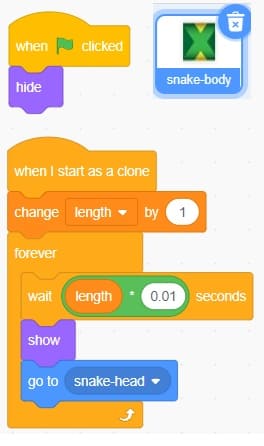
4) Explanation of Each Block
Name | Position |
| Used to start script automatically when the user clicks the green flag. |
| Hides the sprite until the game officially starts. |
 | Every time the snake eats food, the script creates a new clone of the Snake-Body, and this block starts the instructions for that clone. |
 | Used to increase the snake's length. |
| Used to make each snake body segment continuously follow the Snake Head. |
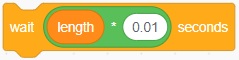 | Creates a small delay between the movements of the snake’s body segments. |
| Makes the snake body appear on the screen. |
 | Makes snake-body sprite instantly move to the position of the snake-head. |
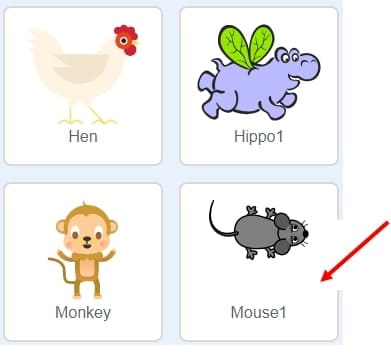
Step 5: Creation of the mouse sprite
The Mouse sprite (also called food or target) is the object that the Snake Head must eat to score points and grow longer.
The mouse starts visible and randomly placed.
It constantly checks if the Snake Head touches it.
When touched:
- It plays a sound for feedback.
- It increases the score and length.
- It creates a clone of the Snake-Body to grow.
- It moves to a new random location.
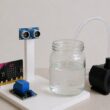
1) Added mouse sprite:
![]()
2) Script for the snake-body sprite
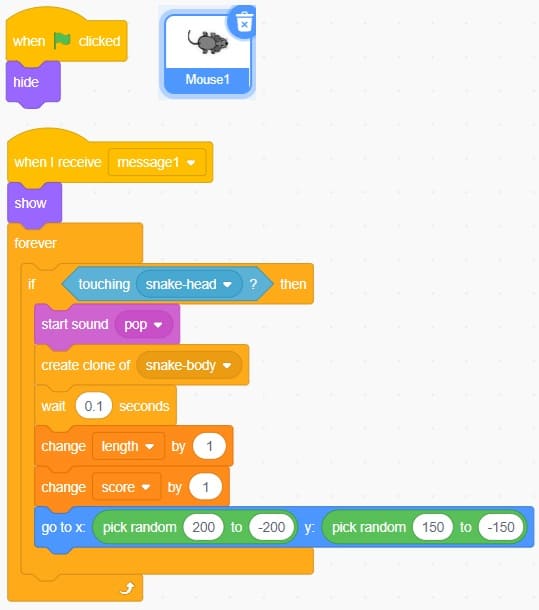
3) Explanation of Each Block
Name | Position |
| Used to start script automatically when the user clicks the green flag. |
| Hides the sprite until the game officially starts. |
| Used to start the game logic for the Mouse Sprite when the "Play" button is clicked or when the game begins. |
| Makes the Mouse appear on the screen. |
| Used to continuously check if the snake has touched the mouse. |
 | Used to check whether the Snake Head is touching the Mouse. |
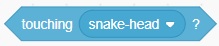 | Used to detect a collision between the Mouse and the Snake Head. |
 | Used to play a short sound effect when the Snake Head touches the Mouse. |
 | Used when the Snake eats the Mouse. It makes the Snake grow longer by adding a new body segment. |
 | Gives a slight delay before the mouse moves or the next clone is created. |
 | Used to increase the snake's length. |
 | Used to increase the score. |
 | Used to move the Mouse to a new random location on the screen after the Snake eats it. |
1 comment

شرح الطيارة 21-02-2626
Thank you for the good writeup. It in truth was once a leisure account it. Look complicated to far delivered agreeable from you! By the way, how could we communicate?
Leave a comment
Passion for robotics

Recent tutorials


Robotics workshop

Polpular tutorials


Making robots

Most commented tutorials


Robotic arm

Categories
Smart Home